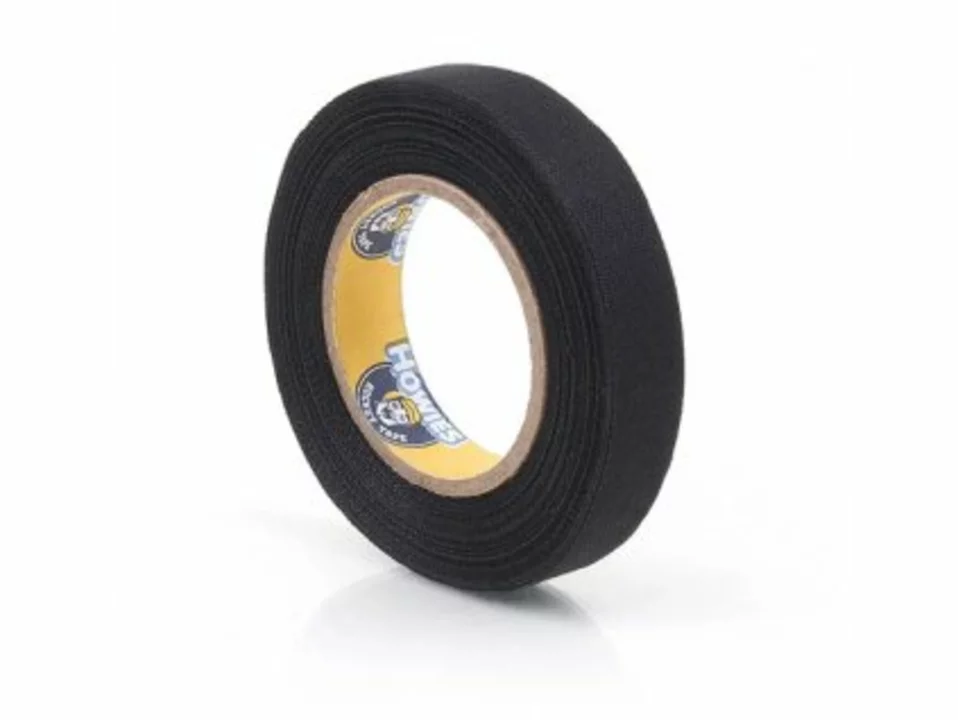
Tape Tips for Hockey Players – Choose and Use Hockey Tape Right
When you grab your stick, the first thing you feel is the tape on the blade. Good tape can mean a better grip, more control, and a longer‑lasting stick. If you skip the tape or do it wrong, you’ll notice missed passes and a slippery feel fast. Below are the basics you need to get the most out of your tape.
Pick the Right Tape for the Job
There are three main types of tape most players use:
- Grip tape – thin, cloth‑like tape that sits on the stick blade. It gives a tacky surface for the puck.
- Wrap tape – thicker, often black or colored, used to build up the blade’s shape and add protection.
- Shin guard tape – stretchy fabric that holds your shin guards in place and prevents bruises.
For beginners, a simple black grip tape works fine. If you want a custom feel, try colored grip tape or a mix of grip and wrap. Remember, thicker tape adds weight, so balance comfort with performance.
How to Apply Tape Like a Pro
Start with a clean, dry stick. Any dirt or moisture will make the tape lift later.
- Cut a length of tape about 12‑15 inches. You can always trim later.
- Begin at the heel of the blade, pressing the tape down firmly as you go toward the toe.
- Overlap each layer by about a millimeter. Overlap creates a smooth surface and prevents gaps.
- When you reach the toe, finish with a tight wrap around the tip. This locks the tape in place.
- Rub the tape with your hand to activate the adhesive and smooth out bubbles.
For wrap tape, you’ll add a few extra turns around the blade to shape the curve you like. Keep the tension even – too tight and the tape can tear, too loose and it will shift during play.
Shin guard tape is even easier. Start at the top of the guard, wrap down to the ankle, and finish with a few extra turns. The tape should be snug but not cutting off circulation.
Maintain Your Tape and Extend Its Life
After a few games, tape starts to lose its stickiness. If you notice the puck slipping, it’s time to replace the grip layer. You don’t have to strip the whole blade – just peel off the old grip tape and lay down a fresh strip.
Store your stick in a cool, dry place. Heat and humidity break down the adhesive faster. If you play on a rainy day, wipe the blade off before re‑taping.
For shin guard tape, replace it when it starts to fray or lose elasticity. Old tape can irritate skin and reduce the guard’s stability.
Common Mistakes to Avoid
Don’t use too much tape – a thick coil adds weight and makes the stick harder to maneuver. Avoid stretching the tape while you apply it; it can snap later. Finally, never reuse old tape. The adhesive loses its grip the second time you try.
With these simple steps, you’ll feel the difference the moment you snap your stick to the ice. Good tape equals better control, fewer slips, and a longer‑lasting stick – all things a Lipson Lions player wants.
Now grab a roll, follow the basics, and watch your game improve. Happy taping!
